A very good friend of mine has had an ordinary wooden table and wished to make it more cozy and interesting. Here is the very berry story about my first mosaic table top and working process stages.
First, together with my friend we discussed a theme and chose a suitable drawing. She prefered ashberry brunch on bright sky background. Then I made a decision what ceramic tile colours will stand the best. The quantity was approximate, but I recommend always to reserve a little bit more.
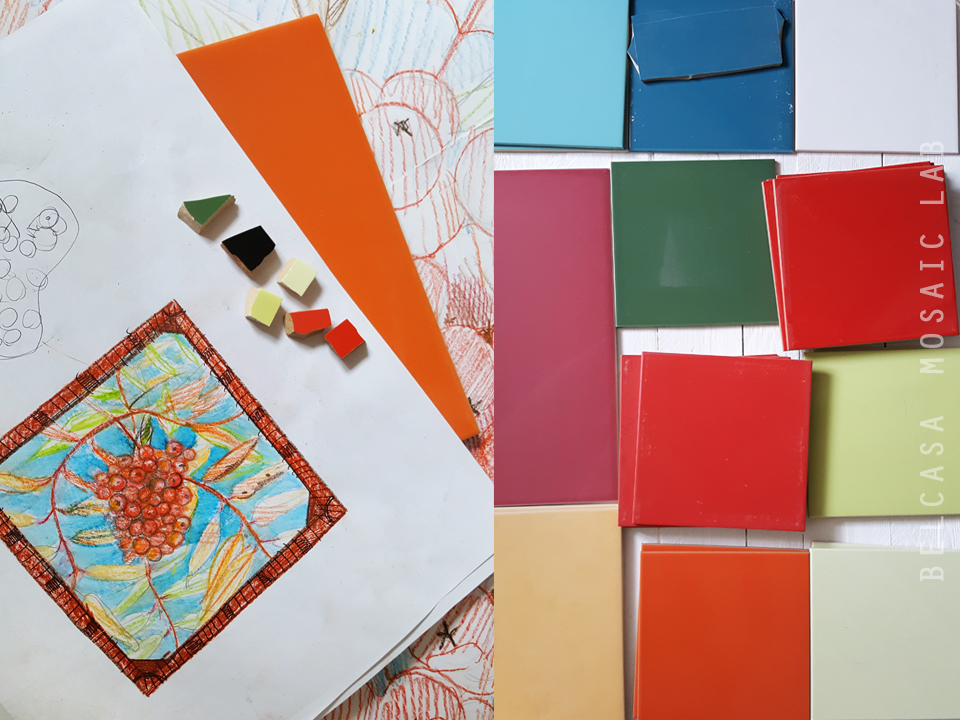
Colour choice palette
I made a real measure sketch and painted with light pencil layer to designate colour placement. Then I transfered main lines of my drawing on table top using transfer paper.
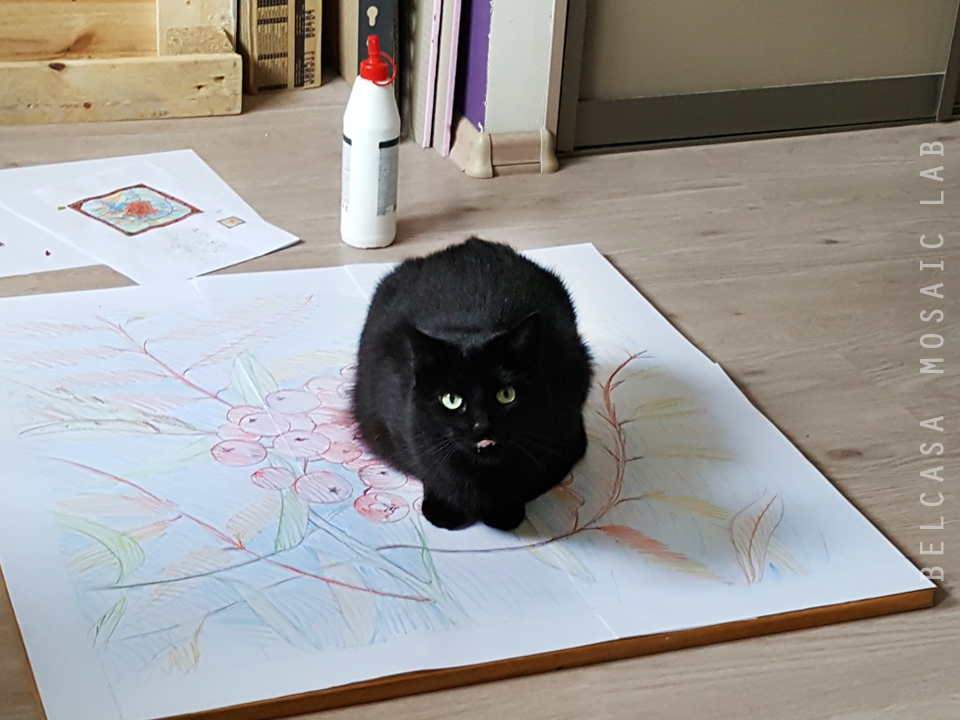
My cat helps me to make good stories ))
I started my mosaic from the center of composition. Cutting big details speeded up the process. I worked intuitively and played with highlights and shadows as much as colours allowed me.
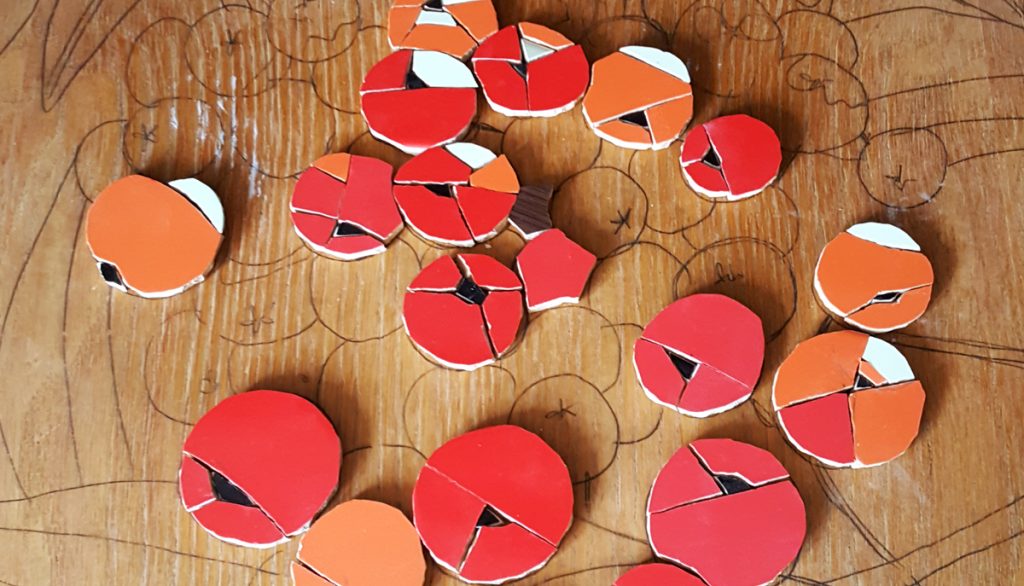
Berries first
Then I made sides and frame of the table top. Peace by peace the picture became more interesting and complete. Glued all that puzzle with tile glue.
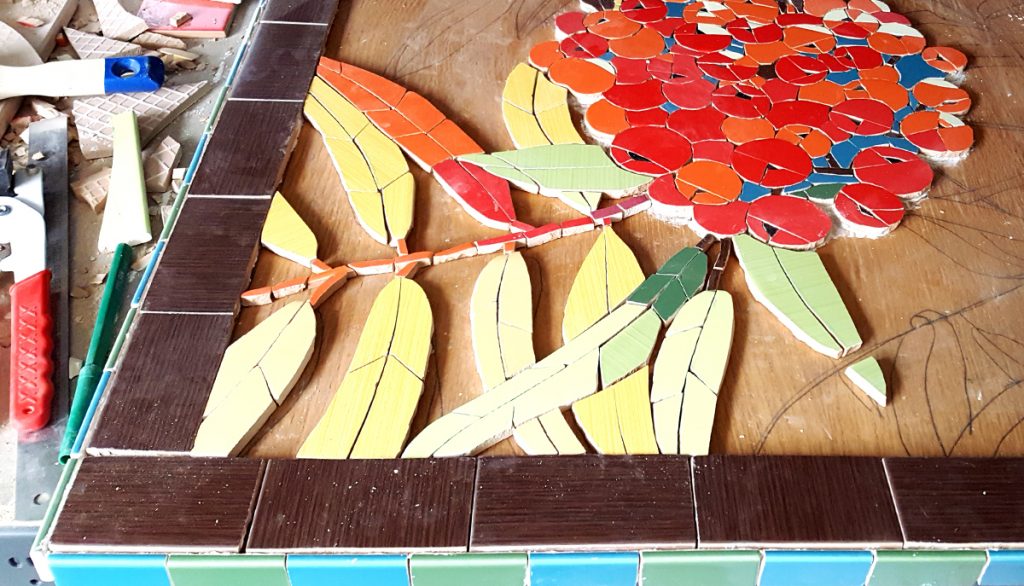
With frame it looks different
Nothing is art if it does not come from nature. (Antonio Gaudi)
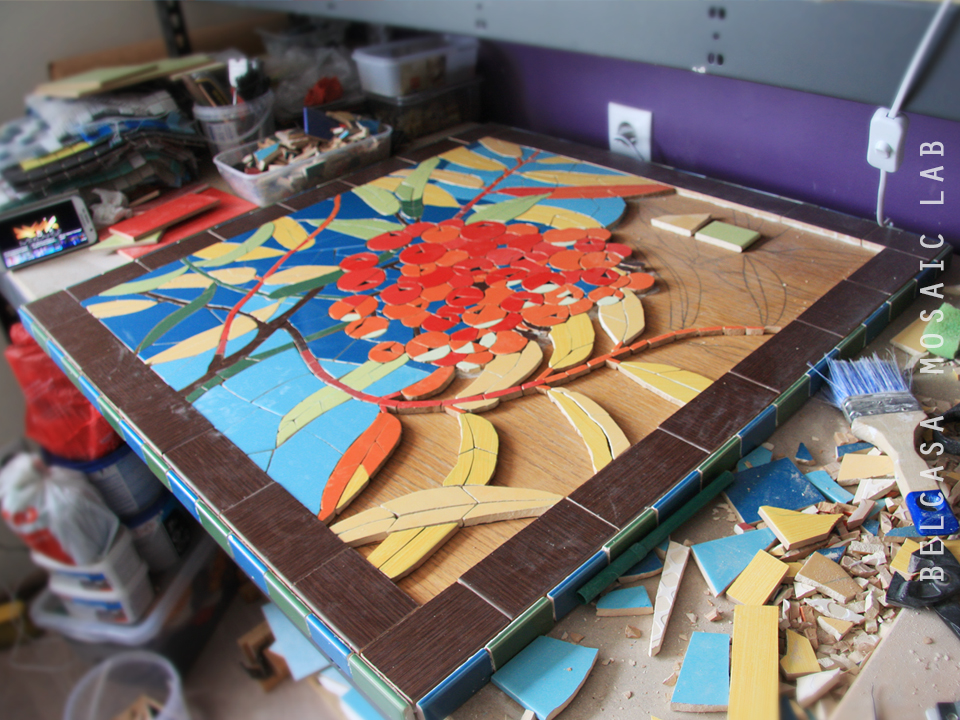
What a mess!
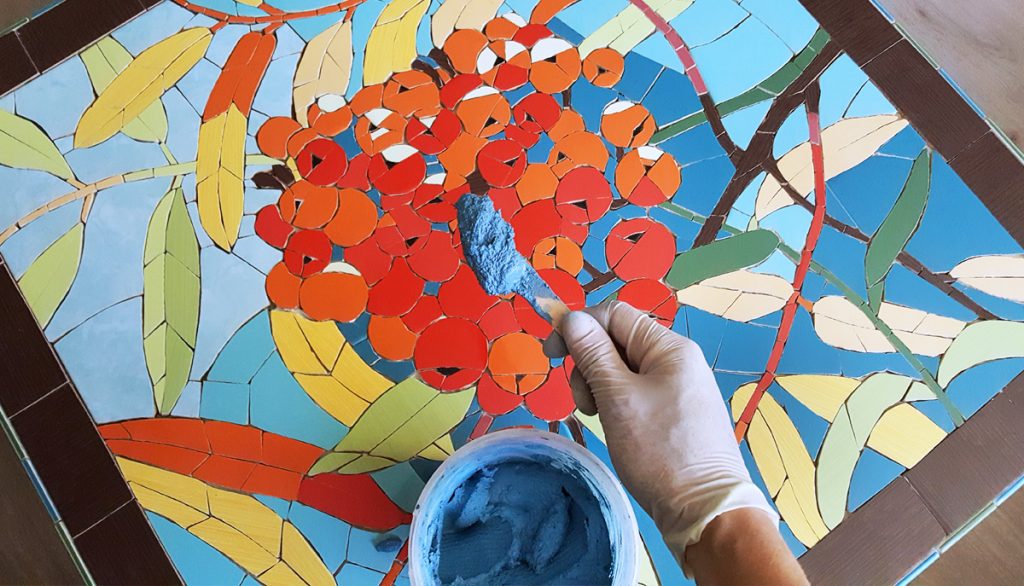
It’s a kind of disaster when you work at home, but the result was definitely worth it. So, the last, but not the least stage was grouting. I decided from the beginning, that it would be light blue as sky and would trickle through the leaves and berries as the air in real life.
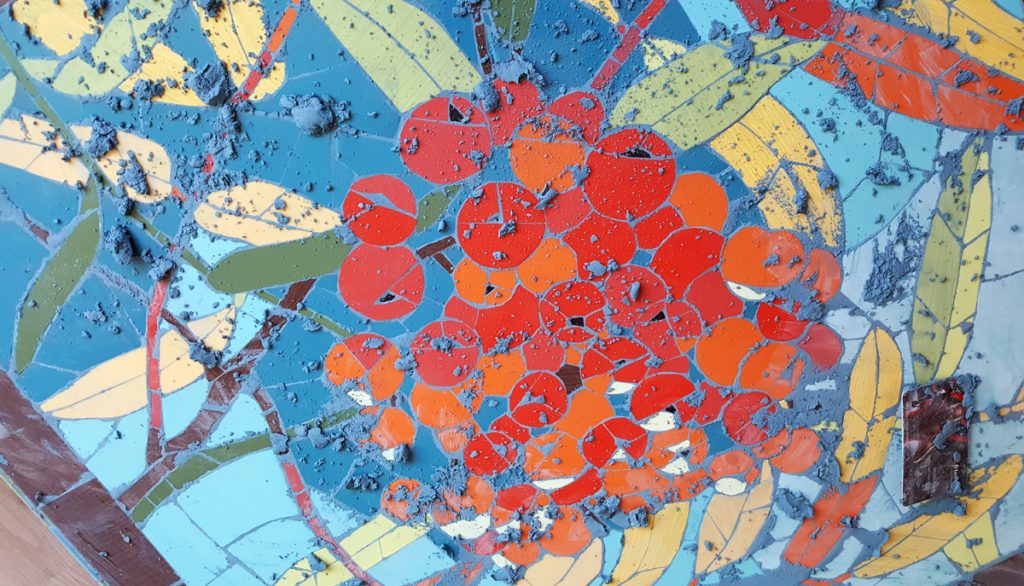
Grouting using plastic card
Newborn table top needed leg upgrade too, so I painted all wooden details dark brown.
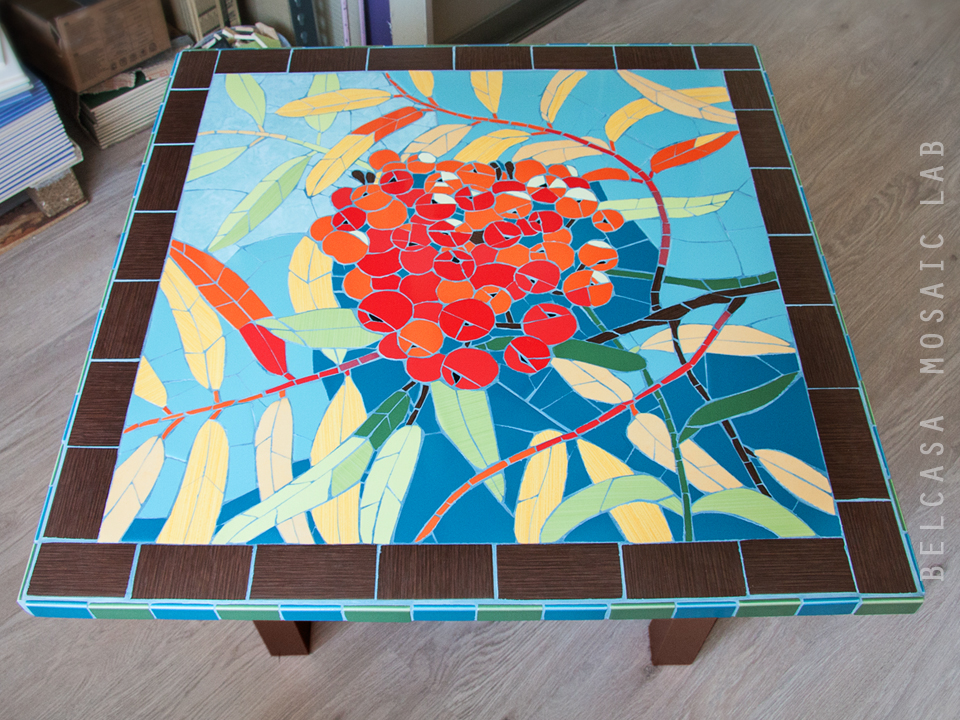
This stage of the process is called HAPPYNESS
Let it dry fully and then polish with vinegar. Ta daa, it’s ready… for a photoshoot!
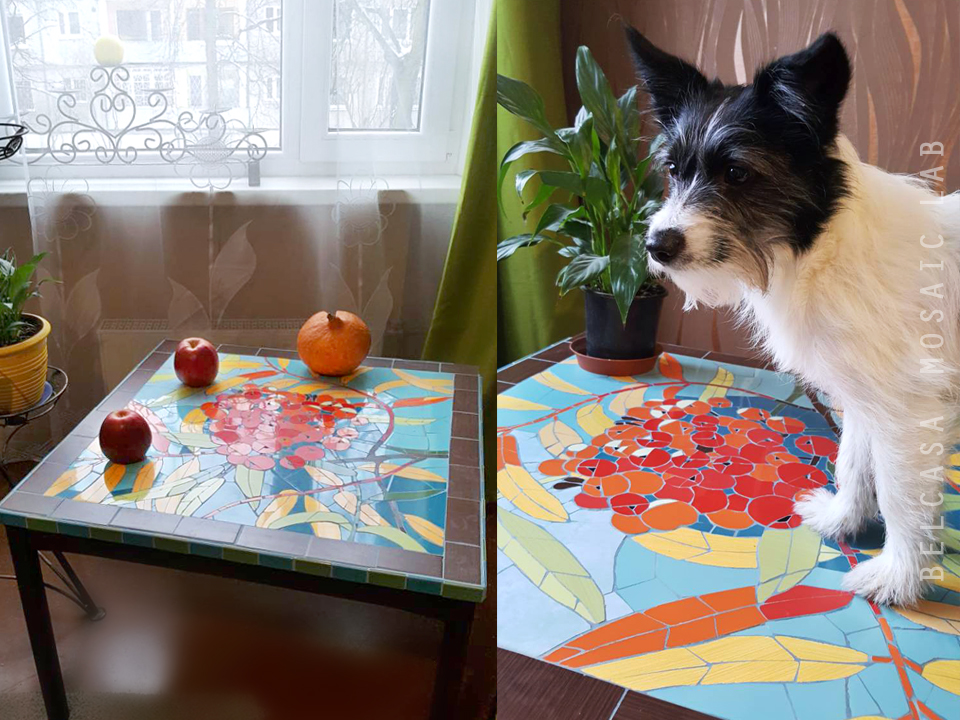
Renewed table feels good back home together with its lovely inhabitants
It took me three weeks, couple of injured fingers, but I survived and I’m ready for new challenges.


Sorry, the comment form is closed at this time.